

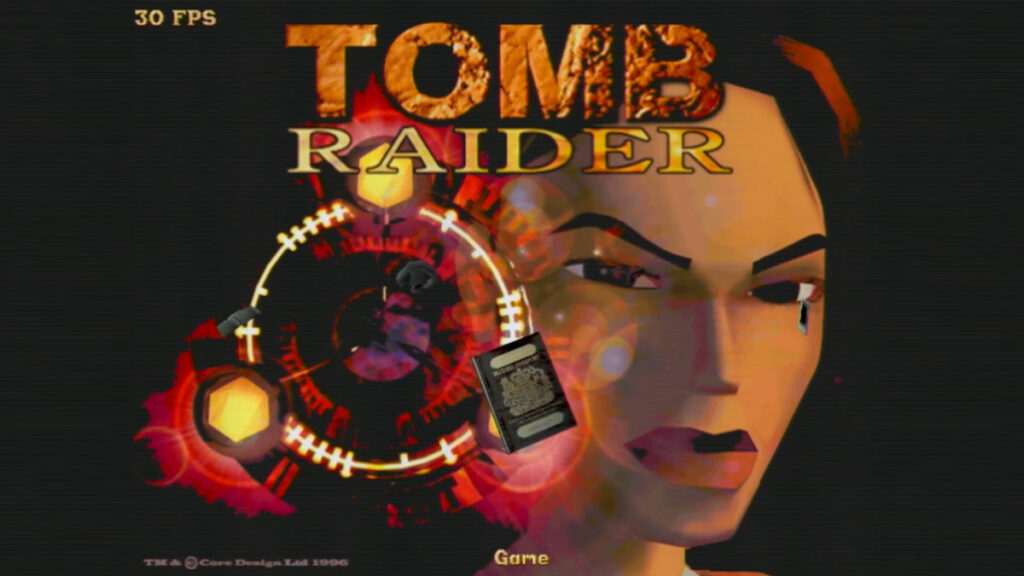
Few games capture the magic of ‘90s gaming like Tomb Raider. Released in 1996, it introduced us to Lara Croft and set a benchmark for 3D action-adventure games. For retro gaming enthusiasts, there’s nothing quite like playing the original Tomb Raider on a period-accurate PC, especially with the enhanced visuals of a 3dfx Voodoo card. But it isn’t that easy to get everything right – especially the right patches you need to run your Tomb Raider in Glide mode!

Adding 3dfx Voodoo Support
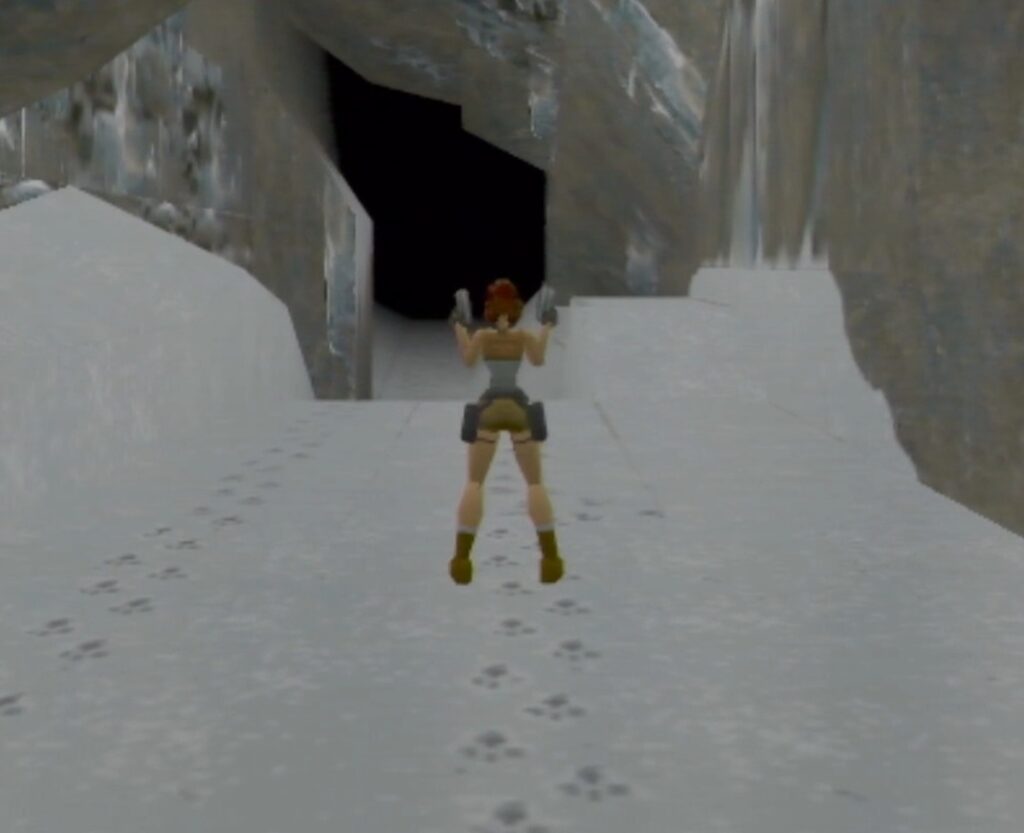
The real magic happens when you add 3dfx Voodoo support, transforming Tomb Raider’s blocky polygons into a smoother, more immersive experience. Most Tomb Raider releases don’t include 3dfx support out of the box, but two patches can bring Lara’s world to life with hardware-accelerated graphics:
- For Original Voodoo Cards: Use the tomb3dfx.zip patch. Extract the file and copy it to your game folder and rename it to tomb.exe, replacing the original tomb.exe.
- For Voodoo Rush/Voodoo 2: Use the tombrush.zip patch. Extract the file and copy it to the game folder and rename it to tomb.exe, replacing the original.
With the patch applied, you’ll notice crisper textures and better performance. On an original Voodoo card (like my Diamond Monster 3D), you’ll even get proper shadow rendering – a feature missing on Voodoo 2 and later cards due to hardware differences. The patch also adds handy hotkeys:
- F2: Toggle frames per second display.
- F3: Toggle anti-aliasing.
- F4: Toggle mip mapping.
What if my Tomb Raider looks like this


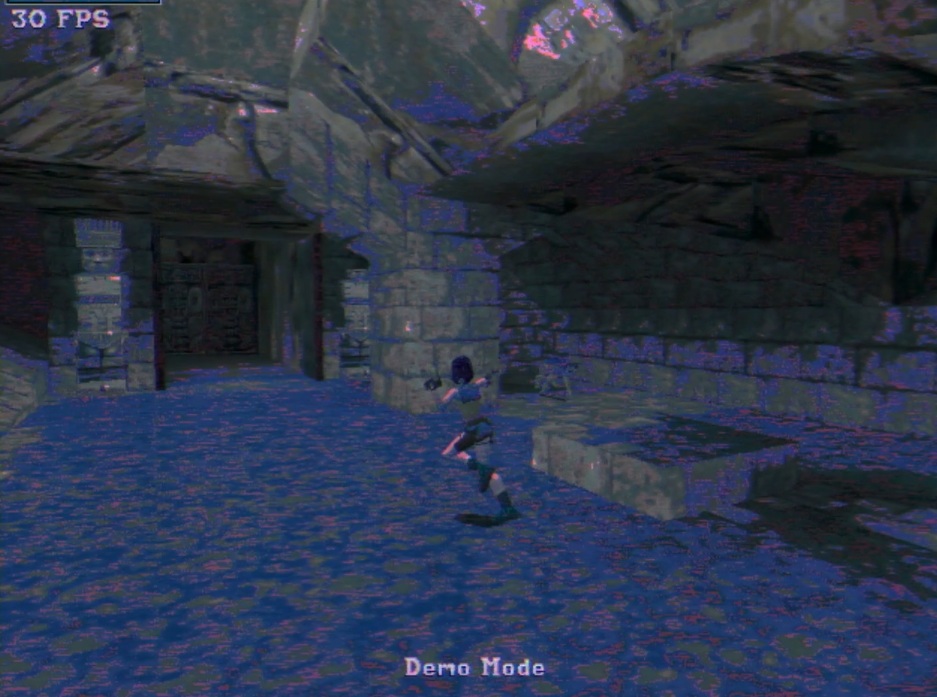
You are most likely running Tomb Raider on a system with a Voodoo 2 installed, but applied the Voodoo 1 patch. Use the patch for Voodoo Rush/Voodoo 2 as mentioned in this post.
Here are a few videos about a Voodoo 2 with exploded memory chips and a blown FBI chip:


